|
|
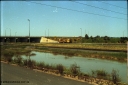
216-20566 viewsDry Creek Motive Power Centre, view looking north as a track tamper arrives into Dry Creek Yard.
|
|
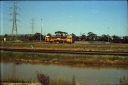
216-21511 viewsDry Creek Motive Power Centre, view looking north as a track tamper arrives into Dry Creek Yard.
|
|
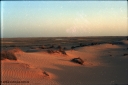
216-23518 viewsMoomba, view of surrounding sand hills
|
|
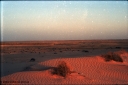
216-24529 viewsMoomba, view of surrounding sand hills
|
|
216-25575 viewsMoomba, view of surrounding sand hills
|
|
216-26539 viewsMoomba, view of surrounding sand hills
|
|
216-27534 viewsMoomba, panorama image one, view looking at air strip.
|
|
216-28553 viewsMoomba, panorama image two.
|
|
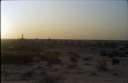
216-29572 viewsMoomba, panorama image three.
|
|
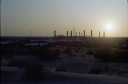
216-30534 viewsMoomba, panorama image four.
|
|
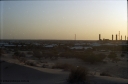
216-31500 viewsMoomba, panorama image five.
|
|
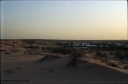
216-32541 viewsMoomba, panorama image six.
|
|
216-33555 viewsMoomba, panorama image seven.
|
|
216-34507 viewsMoomba.
|
|
216-35544 viewsMoomba.
|
|
216-36544 viewsMoomba.
|
|
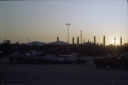
216-37528 viewsMoomba.
|
|
|
|
|
|
|
 Login


