|
|
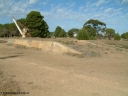
030406 091638505 viewsYeelanna, goods loading ramp and 5 ton jib crane, circa 1936. April 6, 2003.
|
|
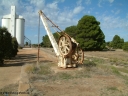
030406 091716528 viewsYeelanna, close up of the 5 ton jib crane on the goods loading ramp, circa 1936. The triangle north leg originally ran through the gap beside the big trees on the right. April 6, 2003.
|
|
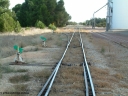
030406 092313537 viewsYeelanna, station yard view looking north down the mainline from the south end of the station siding, points, leaver and indicator for the Kapinnie and former Mount Hope line at the bottom of frame, then the south end points, lever and indicator for the station siding, and then the high yellow disk for the southern leg of the triangle can be seen. With silo outflow spouts on the right. April 6, 2003.
|
|
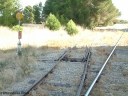
030406 092406570 viewsYeelanna, yard view of the station siding looking north with the points, lever and indicator for the south leg of the triangle and line curving away to the left visible. April 6, 2003.
|
|
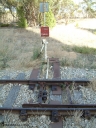
030406 092433517 viewsYeelanna, detail view of the points, lever and indicator and track fixtures for the south leg of the triangle. April 6, 2003.
|
|
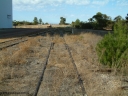
030406 092518569 viewsYeelanna, yard view looking south from the station siding with the south leg of the triangle points, lever and indicator visible, pine tree growing between rails. April 6, 2003.
|
|
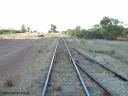
030406 092548517 viewsYeelanna, yard view looking south along the mainline, with points and converging track from the station siding visible on the right, and the points, lever and indicator for the diverging line to Kapinnie and former Mount Hope branch curving to the right. April 6, 2003.
|
|
030406 092656523 viewsYeelanna, track view of gaps in rail on the grain and goods siding. April 6, 2003.
|
|
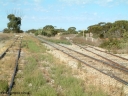
030406 092756508 viewsYeelanna, yard view looking south, shows mainline and grain siding running south and branch line to Kapinnie and former Mount Hope branch curving away to the right across a culvert and past a cast Yard Limit sign. April 6, 2003.
|
|
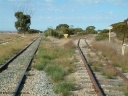
030406 092831479 viewsYeelanna, yard view looking south, shows mainline and grain siding running south and branch line to Kapinnie and former Mount Hope branch curving away to the right across a culvert and past a cast Yard Limit sign. April 6, 2003.
|
|
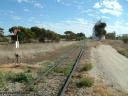
030406 093000499 viewsYeelanna, station located at the 81.7 km, original terminus of line in April 1909, then junction for line to Mount Hope in October 1914. Station yard overview from the south end looking north, points, lever and indicator for the grain siding with concrete silo complexes in the background. The branch line to Kapinnie and former Mount Hope is just visible through the trees on the raised embankment. April 6, 2003.
|
|
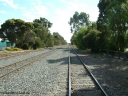
030406 094216518 viewsCummins, yard view looking north along the Buckleboo line with the Thevenard line second from the right with Hall St grade crossing visible in the distance and the loading ramp siding converging at the far left of the image. April 6, 2003.
|
|
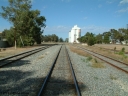
030406 094232485 viewsCummins, yard overview looking south down the mainline through the middle of the yard. Buckleboo line on the left, with the grain and loading ramp sidings on the right. Loading ramp, rotating crane and concrete silos complexes visible in the background. April 6, 2003.
|
|
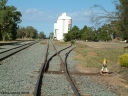
030406 094331541 viewsCummins, yard view looking south along the grain siding with the points, lever and indicator for the goods loading ramp siding, formation of former triangle can be seen as the mound curving away to the right. April 6, 2003.
|
|
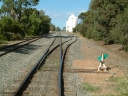
030406 094438535 viewsCummins, yard view looking south along the mainline with the points, lever and indicator for the grain siding, then the same for the goods loading ramp, the Buckleboo line - siding is on the left. April 6, 2003.
|
|
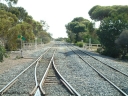
030406 094634516 viewsCummins, track view looking north at the north end of the yard, Thevenard line curves away to the left while the Buckleboo line curves away to the right across the pedestrian crib crossing. The points, lever and indicator are for the crossovers which form the crossing loop. April 6, 2003.
|
|
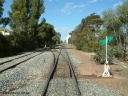
030406 094714546 viewsCummins, yard overview looking south down the mainline from Thevenard with the line from Buckleboo coming in on the left, points, levers and indicators for the crossovers being visible with crib crossing and concrete silos in the distance. April 6, 2003.
|
|
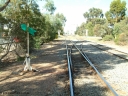
030406 094830513 viewsCummins, yard overview looking south down the Buckleboo line with the mainline from Thevenard on the right, with points, levers and indicators for the crossover and then the grade crossing on Hall St being visible, concrete silos in the distance. April 6, 2003.
|
|
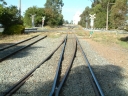
030406 094906489 viewsCummins, yard view looking south along the mainline, points lever and indicator for the crossover to the Buckleboo line visible, Hall St grade crossing, then the points and levers for the grain and goods loading ramp sidings beyond. Buckleboo line is on the left. April 6, 2003.
|
|
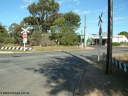
030406 094958517 viewsCummins, Hall Street grade crossing, looking south, point lever and indicator visible for the grain siding off the mainline, branch line to Buckleboo is the near track. April 6, 2003.
|
|
|
|
 Login


