 Most viewed - 0121 |
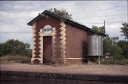
121-18623 viewsChiltern station building, brick lamp room?
|
|
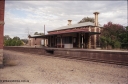
121-19622 viewsChiltern station building, looking north.
|
|
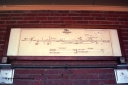
121-32615 viewsMorwell signal diagram or 'pull list' and track indicators located in the Signal 'Box' or bay on platform.
|
|
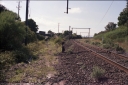
121-21611 viewsMoe track view, looking east, cutting to left former Yallourn line.
|
|
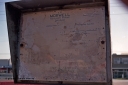
121-27606 viewsMorwell station yard auxiliary diagram for access to and from the Briquette Sidings, Traralgon end of Morwell station.
|
|
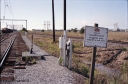
121-37603 viewsMaryvale, Maryvale Siding entry points, electric staff locked, Hazelwood Siding on the right, track view, interlocking, looking east.
|
|
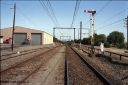
121-25602 viewsMorwell, track view, looking west, semaphore signal Post 7, towards Melbourne, Freightgate shed at left.
|
|
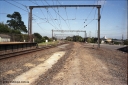
121-24601 viewsMoe, track view, looking west, shows where former yards were, overhead line can be seen grounded, points and lever for Bank Engine Siding and train control telephone cabinet.
|
|
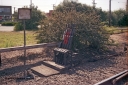
121-28601 viewsMorwell station yard auxiliary frame and diagram for access to and from the Briquette Sidings, Traralgon end of Morwell station.
|
|
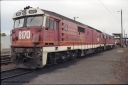
121-09598 viewsAlbury yard loco depot, standard gauge NSWSRA 81 class 8170 Clyde Engineering EMD model JT26C-2SS serial 85-1089 in candy livery, with a sister 81 class, V/Line C class in the background, looking south.
|
|
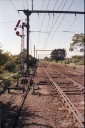
121-29597 viewsMorwell, eastern end of yard view, looking towards Traralgon, semaphore signal Post 8 and disc signal Post 9, SEC Briquette Sidings on the right, mainline to Traralgon on the left. Post 8 pulled off for mainline, point rodding, interlocking and signal wires.
|
|
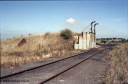
121-35596 viewsMaryvale, Hazelwood Siding loading ramp.
|
|
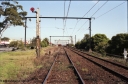
121-30595 viewsMorwell station yard overview looking from SEC or Briquette sidings road, signal Post 10, track at right is mainline to Traralgon, RT class rail tractor and station building in background.
|
|
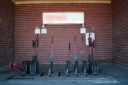
121-33593 viewsMorwell Signal Bay on the platform, signal levers, diagram and track circuit indicators on back wall.
|
|
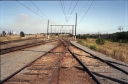
121-34591 viewsMaryvale, yard overview of Maryvale Siding looking towards Morwell, Hazelwood Siding off on the left.
|
|
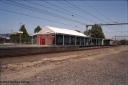
121-23587 viewsMoe, station overview, station building, modern brick style.
|
|
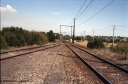
121-36582 viewsMaryvale, track view, looking towards Morwell, Hazelwood Siding on left.
|
|
|
|
|
|
|
 Login


