 Most viewed - 0131-1 |
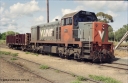
131-1-01666 viewsEchuca yard, broad gauge V/Line H class leader H 1 Clyde Engineering EMD model G18B serial 68-629, sleeper waggon.
|
|
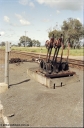
131-1-13658 viewsBarnes signal box, point and signal levers, interlocking, track view.
|
|
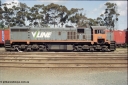
131-1-06626 viewsEchuca yard, broad gauge V/Line X class leader X 31 Clyde Engineering EMD model G16C serial 66-484.
|
|
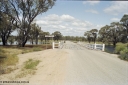
131-1-15618 viewsShaws Creek bridge, high water.
|
|
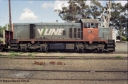
131-1-04605 viewsEchuca yard, broad gauge V/Line H class leader H 1 Clyde Engineering EMD model G18B serial 68-629.
|
|
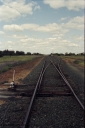
131-1-17603 viewsWakool yard overview from north end points, point lever, looking south.
|
|
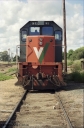
131-1-03592 viewsEchuca yard, broad gauge V/Line H class leader H 1 Clyde Engineering EMD model G18B serial 68-629.
|
|
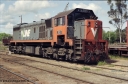
131-1-00587 viewsEchuca yard, broad gauge V/Line X class leader X 31 Clyde Engineering EMD model G16C serial 66-484.
|
|
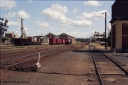
131-1-08583 viewsEchuca yard overview, looking north, V/Line broad gauge class leaders of the H class H 1 Clyde Engineering EMD model G18B serial 68-629 and the X class X 31 Clyde Engineering EMD model G16C serial 66-484, goods shed, station building, water tower at right, point levers, track work.
|
|
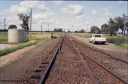
131-1-12582 viewsBarnes, track view, looking south from junction points, searchlight and semaphore signals, signal and point levers, standing on the Deniliquin line, Balranald line at right.
|
|
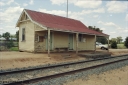
131-1-19581 viewsWakool station building.
|
|
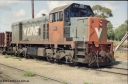
131-1-02578 viewsEchuca yard, broad gauge V/Line H class leader H 1 Clyde Engineering EMD model G18B serial 68-629.
|
|
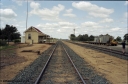
131-1-16575 viewsWakool yard overview looking south towards Barnes, station building, silo complex in background, loading ramp and sheds at right.
|
|
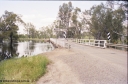
131-1-14572 viewsWakool River bridge, high water.
|
|
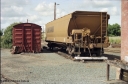
131-1-07570 viewsEchuca, examiners siding, V/Line VHGF type bogie grain waggon, grounded B van.
|
|
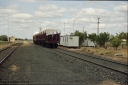
131-1-18561 viewsWakool yard overview, sleeper waggons, gang camp portable dwellings, station building at left, looking south.
|
|
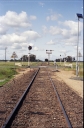
131-1-11557 viewsBarnes, track view, looking south, searchlight and semaphore signals, location sign.
|
|
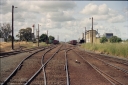
131-1-09551 viewsEchuca yard overview, looking south from points for Toolamba line, mainline to Melbourne, signal post 4 in background, Sidings A on right and Sidings B on left, work gang site and cement siding visible on left.
|
|
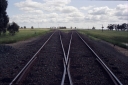
131-1-10550 viewsBarnes, track view, Balranald line to the left, Deniliquin line to the right.
|
|
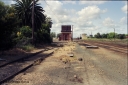
131-1-05546 viewsEchuca yard overview, looking south from dock area of station, water tower, track view.
|
|
|
|
 Login


